Cisco WLC
This section contains an example configuration for the Cisco Wireless Controller. After accessing the management panel, the necessary definitions must be made on the Cisco Wireless Controller. For detailed definitions, "External Web Authentication with Wireless LAN Controllers Configuration Example" document published by Cisco can be referenced.
Radius Settings
Before entering the settings here, the information specified for the device should be noted on panel.wirofy.com. Click here to view the document.
Firstly, Authentication and Accounting must be defined over SECURITY> AAA> RADIUS.
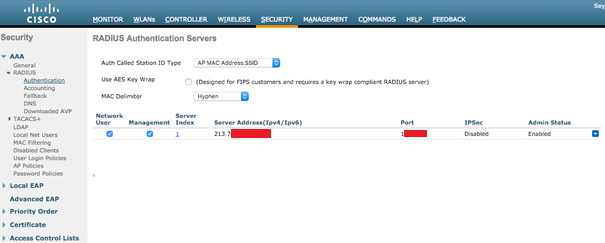
The Authentication IP address and port mentioned in the device details section of panel.wirofy.com should be defined as Server Address.
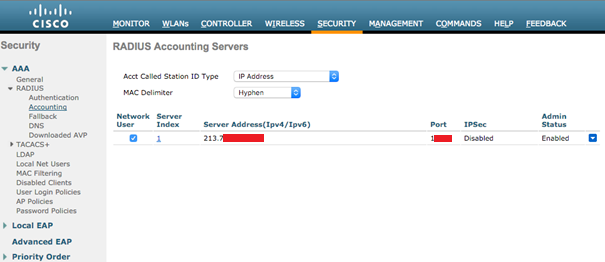
The information in the image is an example. Accounting IP address and port mentioned in the device details section should be defined. Port 1552 is given as an example. Users must enter the value in their account. {.is-warning}
Access Control List
Access Control List definitions are required after Radius definitions. A new definition is entered by following the path SECURITY > Access Control Lists.
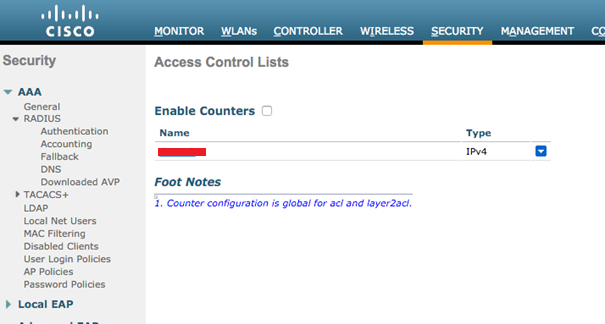
All accesses must be allowed for the Authentication IP address mentioned in the device details section on panel.wirofy.com. A new ACL definition must be made.
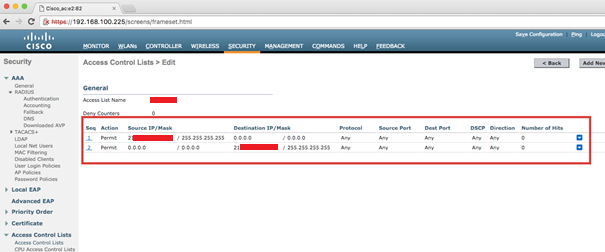
After ACL definition, the permissions must be as above.
WLAN Settings
The steps on the Cisco website should be followed to define a new interface. To be able to verify Wirofy over the existing WLAN, the relevant WLAN must be selected and edited first.

The relevant profile and SSID names can be edited in the "General" tab.
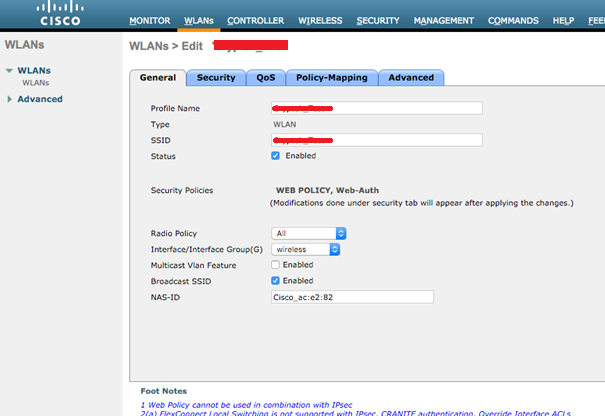
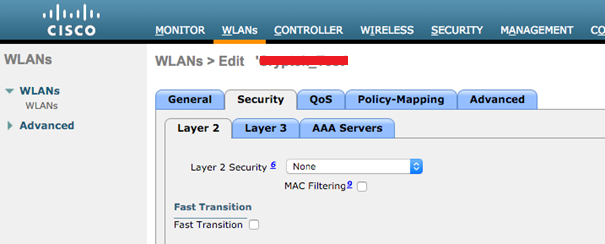
If Layer2 "None" is selected in the "Security" tab, guest users can connect to the wireless network without asking for the WPA password.
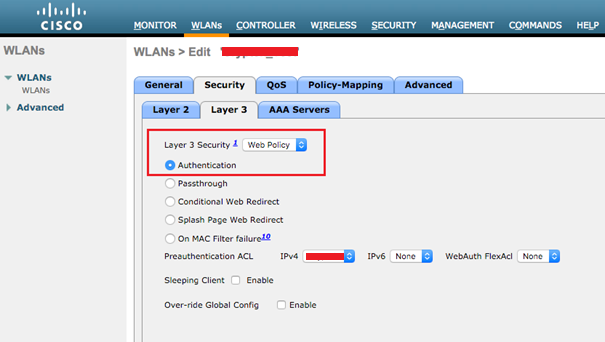
Web Policy and Authentication must be selected in the "Security > Layer3" tab.
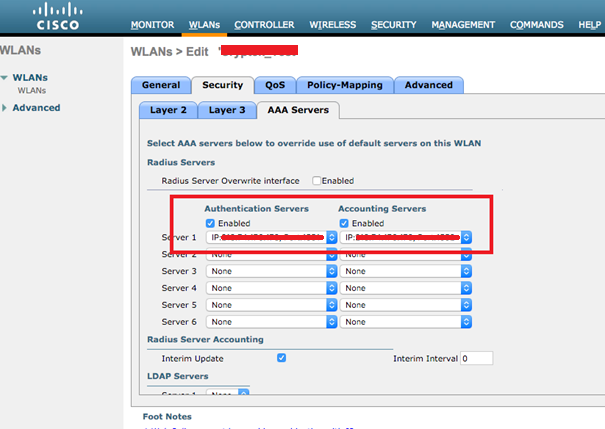
Authentication and Accounting Servers defined previously must be selected in the "Security > AAA Servers" tab.
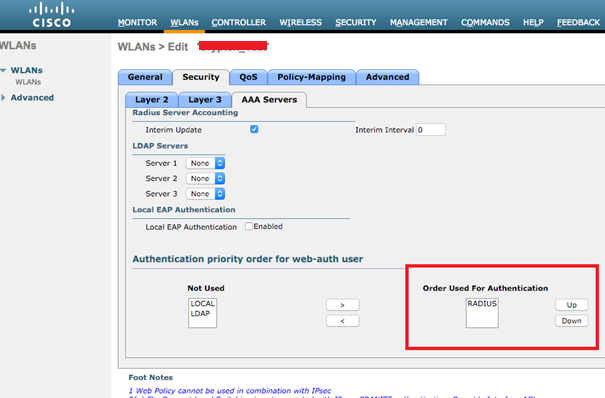
In the definitions at the bottom of the "Security > AAA Servers" tab, RADIUS should be defined as the order of authorization to be at the top.
Login Page Settings
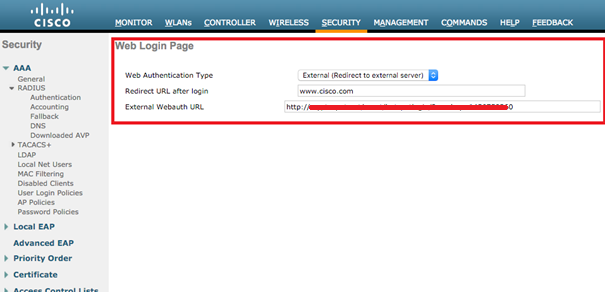
"External Redirect to external server" is selected as "Type" via "Security > Web Auth > Web Login Page", the URL to be routed after login is entered, and the "Login Page URL" given for the user account on wirofy.com in the "External Webauth URL" section value is entered.
