TP-Link EAP
In this section, there exists TP-Link EAP configuration sample. Tested with Omada Controller V3.1.4 and Firmware 1.1.0 Build 20190220 Rel.41433. EAP225 (EU) and Firmware 2.5.1 Build 20190307 Rel. 48992 were run as Access Point. External captive portal support can work as Controller and Standalone.
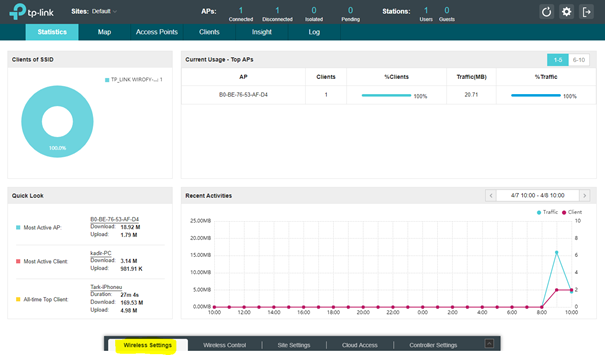
TP-Link devices can be managed standalone or Omada Controller. The screenshots in this document were taken via the Omada Controller system.
Wireless Settings
Wireless Settings should be applied first after accessing the Omada Controller web management panel. There is more than one SSID support.
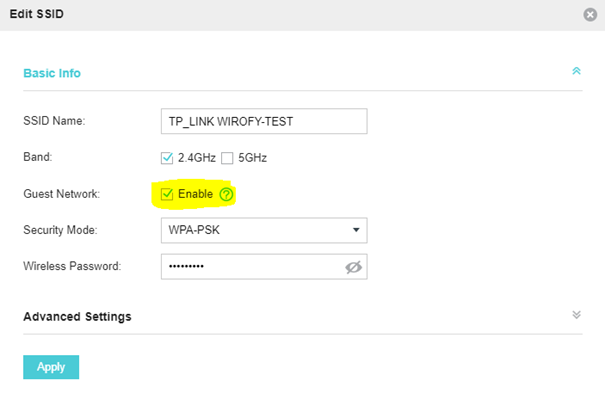
Captive Portal settings can be made after creating a new wireless network or on an existing network.
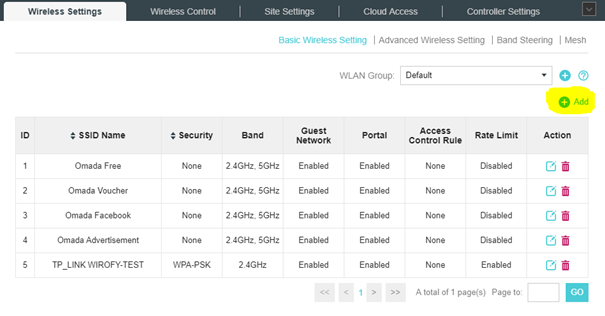
Guest Network must be selected as Enabled.
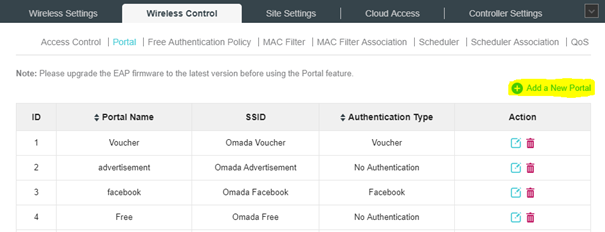
Captive Portal Settings
Wireless Control > Portal > Add Portal Server ile Wirofy Sunucusunu ekleyelim. 1. Maddedeki bilgileri buraya girelim. Add Wirofy AAA Server with Wireless Control > Portal > Add Portal Server menu. You should enter the information in this document here.
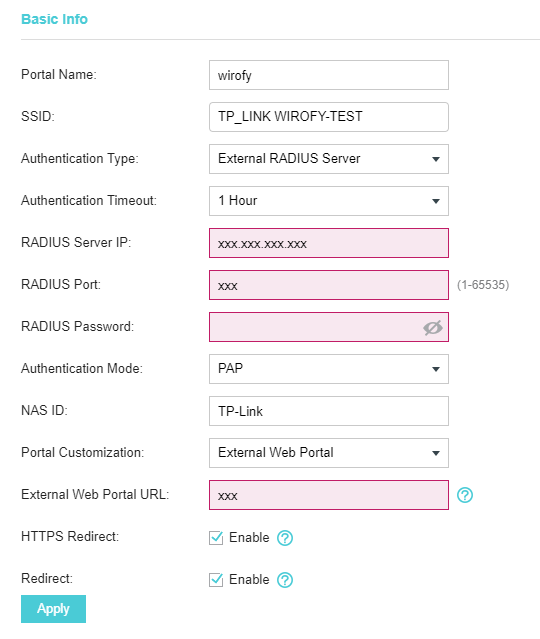
- SSID: Wireless Network Name
- Authentication Type: External RADIUS Server
- RADIUS Server IP: Radius Authentication IP value in the Wirofy panel
- RADIUS Port: Radius Authentication Port value in Wirofy panel
- RADIUS Password: Shared Secret value in the Wirofy panel
- External Web Portal URL: Login Page URL value in Wirofy panel https://connect.wirofy.com/login/XXXXXX must be entered.

Radius Accounting support comes after Firware 3.1.13 version. For accounting settings;
- Accounting Server IP: Radius Accounting IP value in Wirofy panel
- Accounting Server Port: Radius Accounting Port value in Wirofy panel
- Accounting Server Password: Secret Key value in Wirofy panel
- Interim Update: Radius accounting update frequency
- Interim Update Interval: Radius accounting update value should be set to 600 seconds (10 minutes).
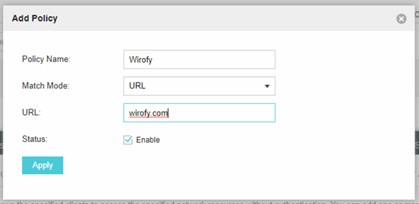
Walled Garden Settings
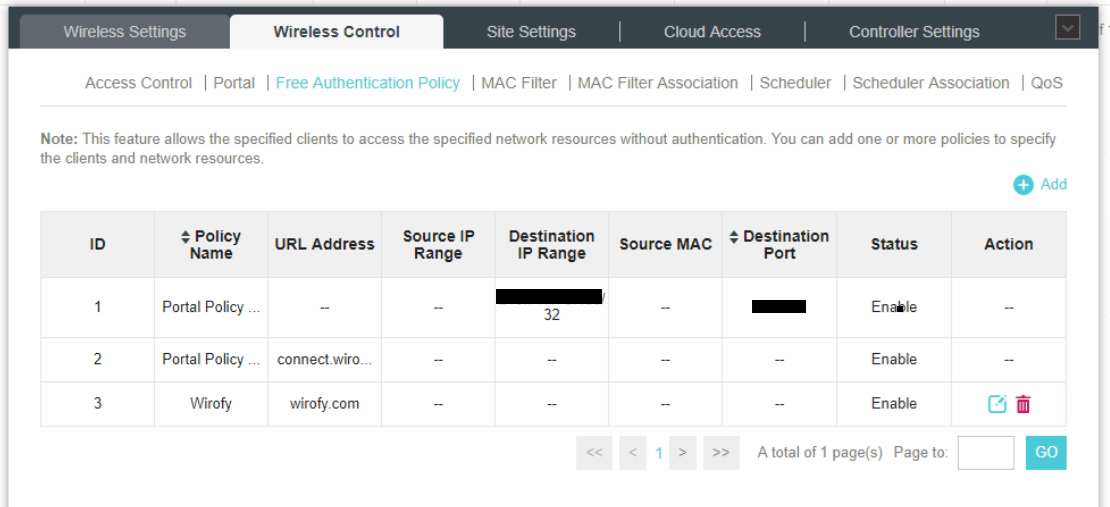
TP Link automatically adds the necessary permissions to pass through Wirofy without verification on first access. It must be added externally as "connect.wirofy.com" url via Wireless Control> Free Authentication Policy> Add.
After it is added, it will be seen as below.
If entries with social media will be applied, permissions must also be given for the relevant social media. The relevant situation should be drawn to "Enable".
